Torch Tutorial - PlantVillage Challenge
There is this interesting challenge called PlantVillage challenge hosted on a newly built platform, crowdai. In this challenge, you are required to identify the disease of a plant from an image of its leaf.
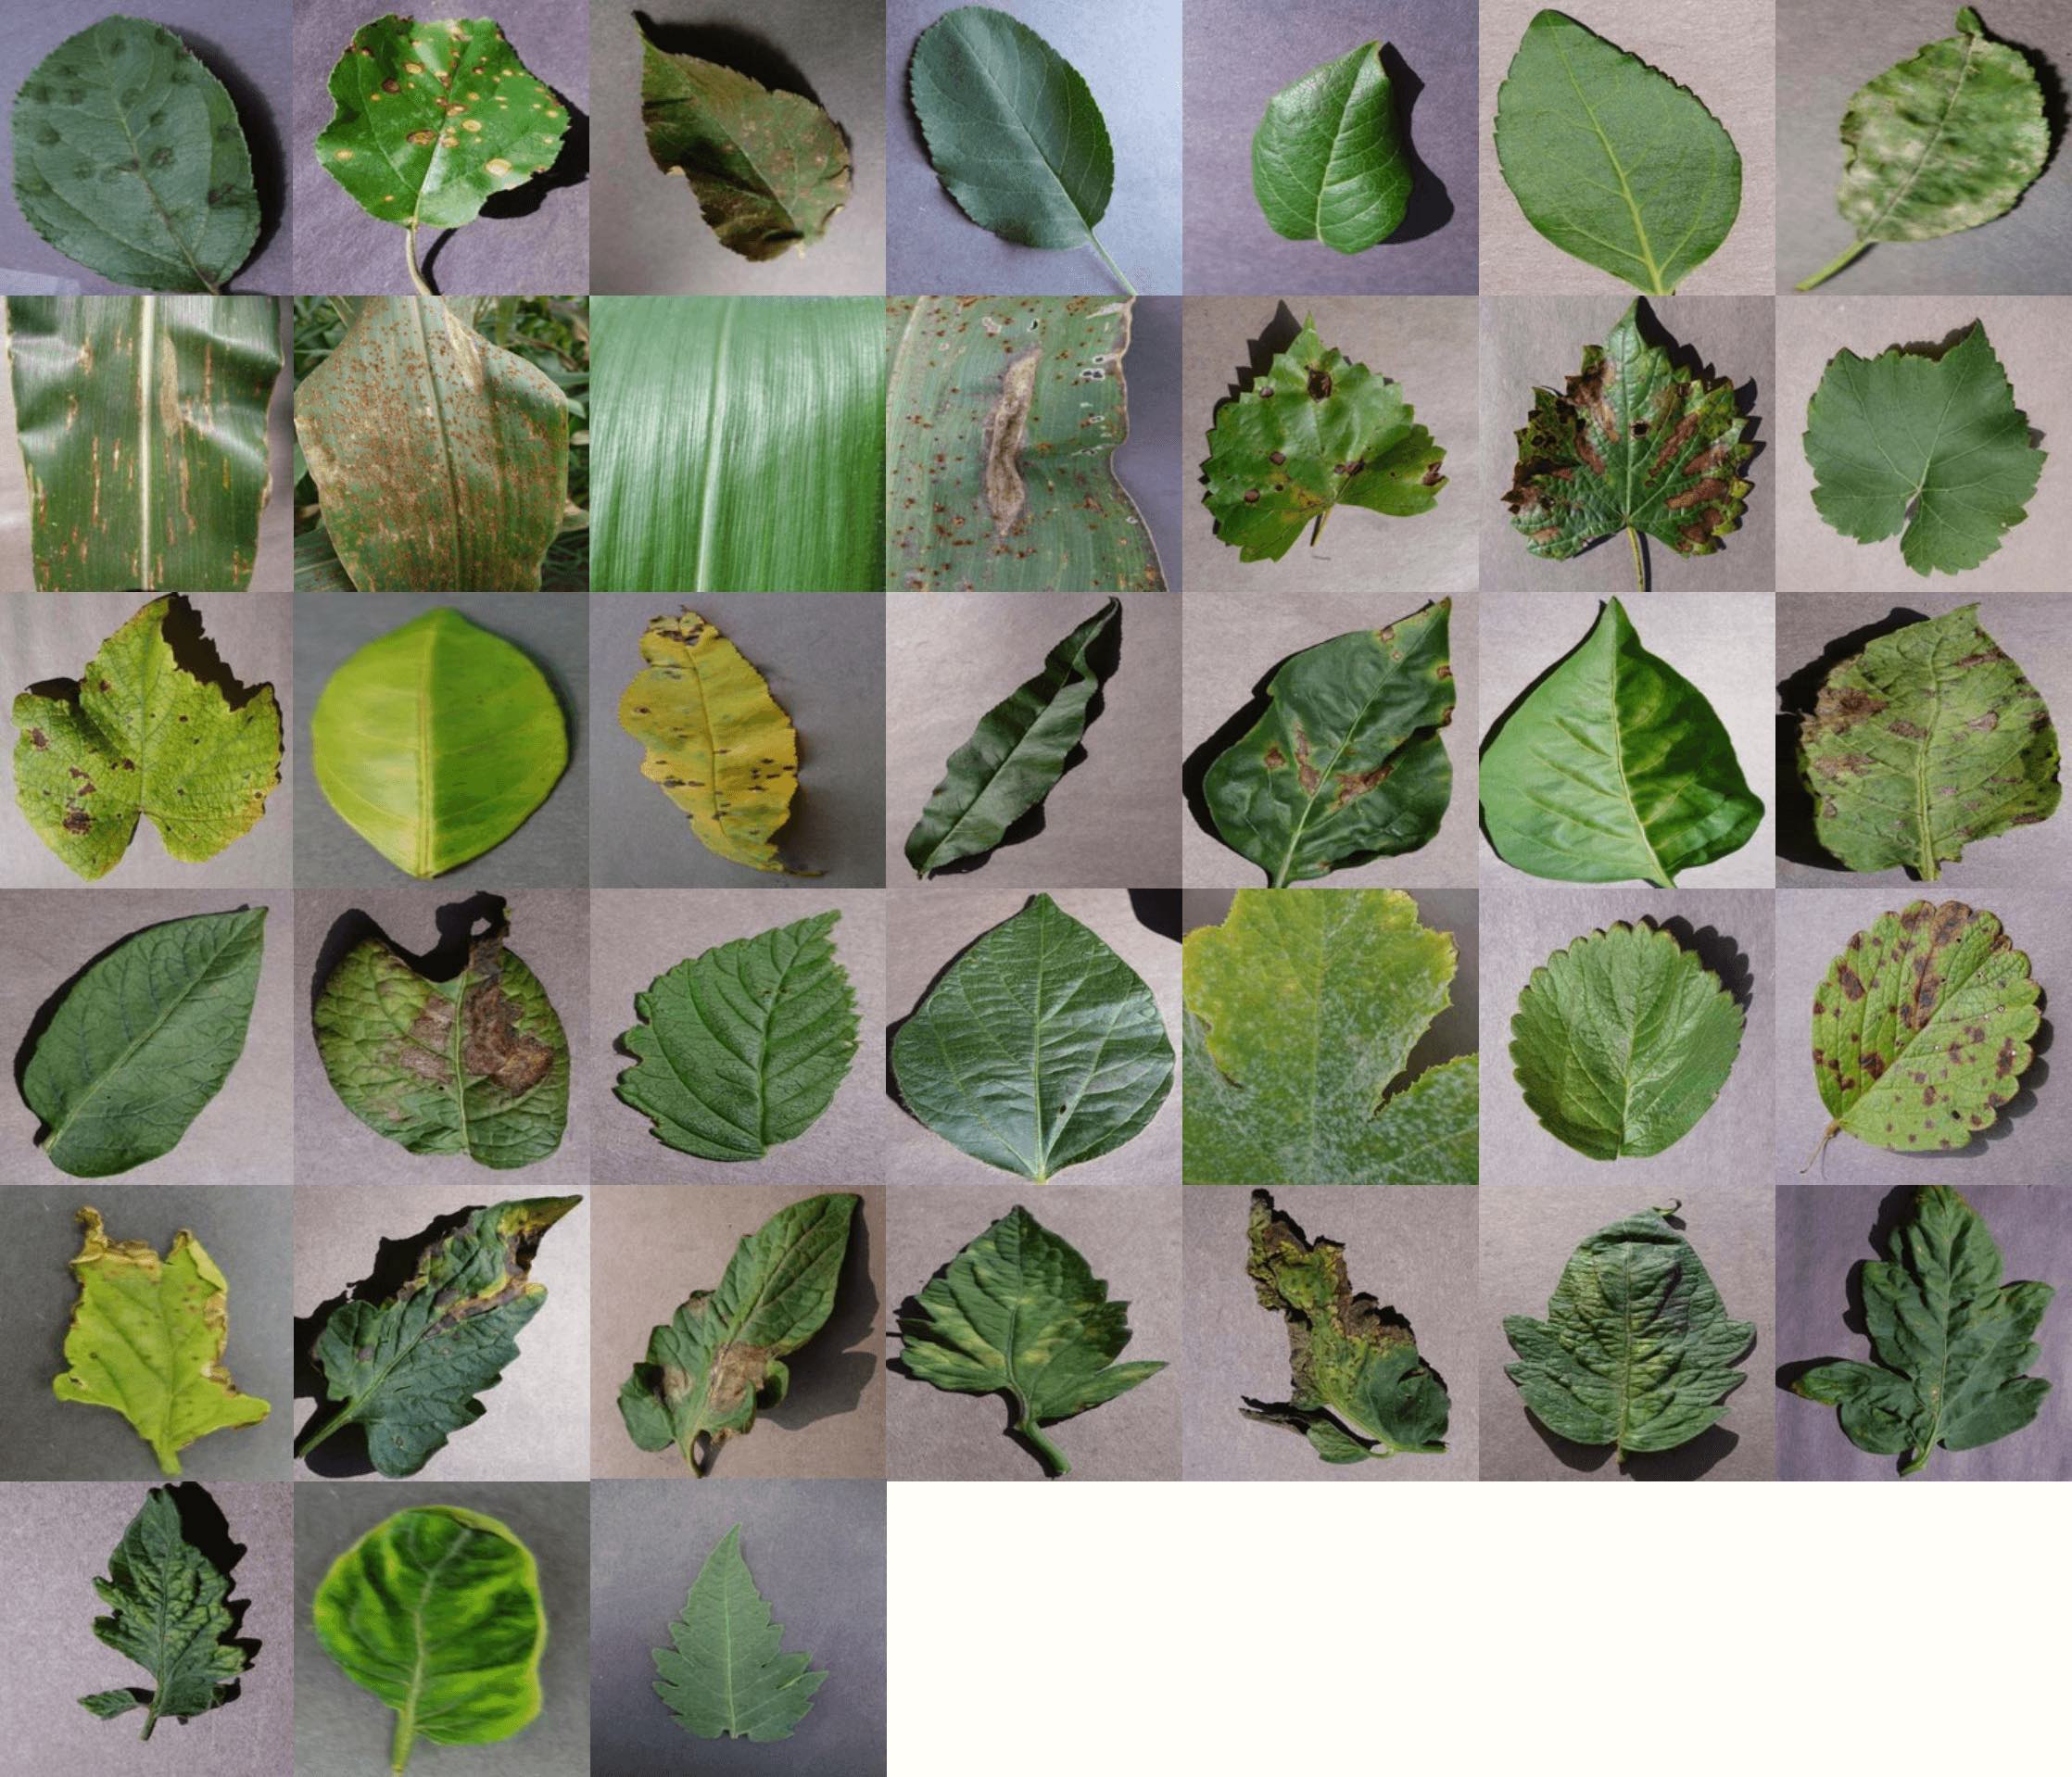
Dataset include both 38 classes of healthy and diseased leaves. Training dataset has 21917 images.
38 classes of crop-disease pairs in the dataset
We’ll use popular deep learning platform torch to solve this problem. This will be a hands-on tutorial covering training of Alexnet ImageNet Classification with Deep Convolutional Neural Networks .
Tutorial will be accompanied by a repo containing complete working code. It will include ResNet Deep Residual Learning for Image Recognition along with Alexnet.
This tutorial assumes familiarity with convolutional neural networks (CNNs) and torch. Here are some resources to get started:
- Neural Networks and Deep Learning book by Michael Nielsen. Chapter 6 is the essential reading.
- Torch tutorials
- Torch cheat sheet
CNNs learn hierarchical task-specific invariant features. For example, first few layers of CNN may learn to recognize particular type of leaf spots and later layers may learn about pattern of these spots to finally make a decision about disease. An usual CNN is a stack of convolutional layers and max-pooling layers.
CNNs were very successful in visual recognition tasks. They have been consistently winning Imagenet large scale visual recognition challenge (ILSVRC). Imagenet is a huge database of 15 million tagged image. A standard approach for a problem like ours is to take an imagenet trained model and fine tune it to our problem. However this is against the rules of the PlantVillage challenge. So, we’ll train our networks from scratch.
Let’s quickly start by building alexnet model.
Model
Our model will take input a tensor of size 3x224x224.
It will output a 38 size tensor holding log probability for each of the 38 classes.
We add SpatialBatchNormalization to the standard alexnet model to speed up the trainig.
models/alexnet.lua:
require 'nn'

local SpatialConvolution = nn.SpatialConvolution
local SpatialMaxPooling = nn.SpatialMaxPooling

function createModel()
    local nbClasses = 38
    local nbChannels = 3

    local features = nn.Sequential()

    features:add(SpatialConvolution(nbChannels,64,11,11,4,4,2,2)) -- 224 -> 55
    features:add(SpatialMaxPooling(3,3,2,2))             -- 55 ->  27
    features:add(nn.ReLU(true))
    features:add(nn.SpatialBatchNormalization(64))

    features:add(SpatialConvolution(64,192,5,5,1,1,2,2)) --  27 -> 27
    features:add(SpatialMaxPooling(3,3,2,2))             --  27 ->  13
    features:add(nn.ReLU(true))
    features:add(nn.SpatialBatchNormalization(192))

    features:add(SpatialConvolution(192,384,3,3,1,1,1,1)) --  13 ->  13
    features:add(nn.ReLU(true))
    features:add(nn.SpatialBatchNormalization(384))

    features:add(SpatialConvolution(384,256,3,3,1,1,1,1)) --  13 ->  13
    features:add(nn.ReLU(true))
    features:add(nn.SpatialBatchNormalization(256))

    features:add(SpatialConvolution(256,256,3,3,1,1,1,1)) --  13 ->  13
    features:add(SpatialMaxPooling(3,3,2,2))              -- 13 -> 6
    features:add(nn.ReLU(true))
    features:add(nn.SpatialBatchNormalization(256))

    local classifier = nn.Sequential()
    classifier:add(nn.View(256*6*6))

    classifier:add(nn.Dropout(0.5))
    classifier:add(nn.Linear(256*6*6, 4096))
    classifier:add(nn.ReLU(true))

    classifier:add(nn.Dropout(0.5))
    classifier:add(nn.Linear(4096, 4096))
    classifier:add(nn.ReLU(true))

    classifier:add(nn.Linear(4096, nbClasses))
    classifier:add(nn.LogSoftMax())

    local model = nn.Sequential()

    model:add(features):add(classifier)

    return model
end
Since our last layer is LogSoftMax, we will use ClassNLLCriterion as our criterion.
Preprocessing
Let’s know prepare the dataset and set the stage for training.
Firstly download the dataset and extract it into a directory.
We’ll divide the images into two directories, train and val for training and validation sets respectively.
I used a simple bash script to do this:
cd directory/contaning/c_0c_1...etcdirectories
mkdir -p train val
for i in {0..37}; do mkdir val/c_$i; done
mv c_* train

cd train
find . -iname *.jpg | shuf | head -n 2100| xargs -I{} mv {} ../val/{}
This will move random 2100 images (about 10% of the dataset) in to val directory and rest into train directory.
Directory structure should now look like:
.
├── train
│   ├── c_0
│   │   ├── img_name.JPG
│   │   ├── ...
│   │   └── img_name.JPG
│   ├── c_1
│   ├── ...
│   ├── c_36
│   └── c_37
│
└── val
    ├── c_0
    ├── c_1
    ├── ...
    ├── c_36
    └── c_37
        ├── img_name.JPG
        ├── ...
        └── img_name.JPG
Before feeding images into neural networks we’ll resize the images to 224 x 224 and normalize the images with mean and standard deviation of RGB channels computed from a random subset of ImageNet.
In the world of deep learning, dataset of 20,000 images is a relatively small dataset. We’ll therefore augment the data during training with
RandomSizedCrop: A randomly sized crop covering anywhere between 8%-100% of the imageColorJitter: Randomly vary brightness, contrast and saturation of the imageLighting: Alexnet style PCA-based noise.HorizontalFlip: Flip the image horizontally
Code to do these transformations is in datasets/transforms.lua. Most of it is borrowed from fb.resnet.torch repo.
We will load the images in batches and do all this processing/augmentation on the fly. This is done by writing a class named DataGen .
Essentially, code
Understanding how iterators work in lua can be a little tricky. Read the following documentation for details.
can be summarized as :
datasets/plantvillage.lua:
require 'paths'
t = require 'datasets/transforms.lua'

local DataGen = torch.class 'DataGen'

function DataGen:__init(path)
    -- path is path of directory containing 'train' and 'val' folders
    -- find all the images in train and val folders.
    self.rootPath = path
    self.trainImgPaths = self.findImages(paths.concat(self.rootPath, 'train'))
    self.valImgPaths = self.findImages(paths.concat(self.rootPath, 'val'))
    self.nbTrainExamples = #self.trainImgPaths
    self.nbValExamples = #self.valImgPaths
end

-- Some utility functions
function DataGen.findImages(dir)
    -- Returns a table with all the image paths found in dir using 'find'
    ...
end

local function getClass(path)
    -- gets class from the name of the parent directory
    local className = paths.basename(paths.dirname(path))
    return tonumber(className:sub(3)) + 1
end

--- Iterator
function DataGen:generator(pathsList, batchSize, preprocess)
    -- pathsList is table with paths of images to be iterated over
    -- batchSize is number of images to be loaded in one iteration
    -- preprocess is function which will be applied to image after it's loaded

    -- Split all the paths into random batches
    local pathIndices = torch.randperm(#pathsList)
    local batches = pathIndices:split(batchSize)
    local i = 1

    return function ()
        if i <= #batches then
            local currentBatch = batches[i]

            local X = torch.Tensor(currentBatch:size(1), 3, 224, 224)
            local Y = torch.Tensor(currentBatch:size(1))

            for j = 1, currentBatch:size(1) do
                local currentPath = pathsList[currentBatch[j]]
                X[j] = preprocess(t.loadImage(currentPath))
                Y[j] = getClass(currentPath)
            end

            i = i + 1
            return X, Y
        end
   end
end

function DataGen:trainGenerator(batchSize)
    local trainPreprocess = t.Compose{
        t.RandomSizedCrop(224),
        t.ColorJitter({
            brightness = 0.4,
            contrast = 0.4,
            saturation = 0.4,
        }),
        t.Lighting(0.1, t.pca.eigval, t.pca.eigvec),
        t.ColorNormalize(t.meanstd),
        t.HorizontalFlip(0.5),}

   return self:generator(self.trainImgPaths, batchSize, trainPreprocess)
end

function DataGen:valGenerator(batchSize)
    local valPreprocess = t.Compose{
         t.Scale(256),
         t.ColorNormalize(t.meanstd),
         t.CenterCrop(224),}
   return self:generator(self.valImgPaths, batchSize, valPreprocess)
end
Complete code for this class with some error catching is at datasets/plantvillage.lua.
We can now simply use a DataGen object to write a for loop to iterate over all the images:
for input, target in dataGen:trainGenerator(batchSize) do
    -- code to train your model
end
Neat, isn’t it?
Training
To refresh your memory, in torch model:forward(input) computes the output of neural network.
This is the forward pass of the backpropagation algorithm while model:backward(input,gradOutput) is the backward pass of the backpropagation.
Forward and backward passes for criterion are also very similar.
We’ll use stochastic gradient descent with momentum (optim.sgd) to make the updates to the network. Let us also use the learning rate scheduler in alexnet paper: Divide the learning rate by 10 every 30 epochs.
Our training script will look like:
require 'nn'
require 'datasets/plantvillage.lua'
require 'models/alexnet.lua'

------------------[[Configuration]]-----------------
-- create model, criterion and data generator
model = createModel()
criterion = nn.CrossEntropyCriterion()
dataGen = DataGen('path/to/folder/with/train-val-directories/')

-- learning rate and other parameters
nbEpochs = 120
learningRate = 0.01
momentum = 0.9
batchSize = 32

------------------[[Training]]-----------------
-- params are parameters of the network that need to be optimized
-- gradParams are gradients of these parameters
params, gradParams = model:getParameters()

-- for optim solver
optimState = {
        learningRate = learningRate,
        momentum = momentum,
        nesterov = true,
        dampening = 0.0,}

local function feval()
    return criterion.output, gradParams
end

-- confusion matrix to calculate accuracies
confusion = optim.ConfusionMatrix(38)

nEpoch = 1

-- function to train model for an epoch
function train()
    optimState.learningRate = learningRate*math.floor((nEpoch - 1) / 30)
    nEpoch = nEpoch + 1
    model:training()
    for input, target in dataGen:trainGenerator(batchSize) do
        -- Forward pass
        output = model:forward(input)
        criterion:forward(output, target)

        -- Backward pass
        model:zeroGradParameters() -- clear gradients from previous backward
        critGrad = criterion:backward(output, target)
        model:backward(input, critGrad)

        -- Make updates using adam
        optim.sgd(feval, params, optimState)
    end
end

-- function to validate current model on validation data
function validate()
    confusion:zero()
    model:evaluate()
    for input, target in dataGen:valGenerator(batchSize) do
        -- Forward pass
        output = model:forward(input)
        confusion:batchAdd(output, target)
    end

    confusion:updateValids()
    valAcc = self.confusion.totalValid*100
    print('Validation accuracy = ' .. valAcc)
end

for i = 1, nbEpochs do
    train()
    validate()
end
If you look at the code in the repo, you’ll find that I have divided training into main.py and train.py scripts for configuration and training respectively.
In main.lua, we manage the configuration of the neural network and criterion.
In train.lua, I wrote a Trainer class with Trainer:train() and Trainer:validate() methods very similar to train() function above except with some logging. This allows us to experiment with different configurations easily.
Evaluation
To evaluate our model on the test set, we will predict on 4 corner patches and center crop from image and its horizontal reflection. We will then average the output from all these as our prediction.
Our evaluation script then looks like:
local function findImages(dir)
    -- Returns a table with all the image paths found in
    -- dir using 'find'
end

-- Ten Crops
local t = require 'datasets/transforms'
local transform = t.Compose{
   t.Scale(256),
   t.ColorNormalize(t.meanstd),
   t.TenCrop(224),
}

-- predict for all image
for _,imgpath in ipairs(findImages(arg[2])) do
   local img = image.load(imgpath, 3, 'float')
   local name = paths.basename(imgpath)

   -- Scale, normalize, and ten crop the image
   -- View as mini-batch of size 10
   img_batch = transform(img)

   -- Get the output of the softmax and average it
   local output = model:forward(img_batch):mean(1)[1]

    -- print the name and output in correct form.
end
Results
I have trained the alexnet model with the above augmentation technique for 120 epochs. On a machine with Nvidia Titan X, each epoch took about 3/4 minutes. It took about 7 hrs On my Macbook Air, each epoch takes this much time. to train the network.
I get a F-Score of 0.99 with this network :).
I also have trained resnet-34 (ResNet is the winner of the latest imagenet challenge) and got almost the same F-Score.
You can train these yourself using accompaying repo Feel free to mail me if you have found any bugs. :
git clone git@github.com:chsasank/plantvillage-challenge.git
cd plantvillage-challenge

# train alexnet
th main.lua -save . -data path/to/train-val
# evaluate alexnet
th submission.lua alexnet_120.h5 path/to/test > alexnet_submission.csv

# train resnet
th main.lua -model resnet  -depth 34 -learningRate 0.1
# evaluate alexnet
th submission.lua resnet_120.h5 path/to/test > resnet_submission.csv